
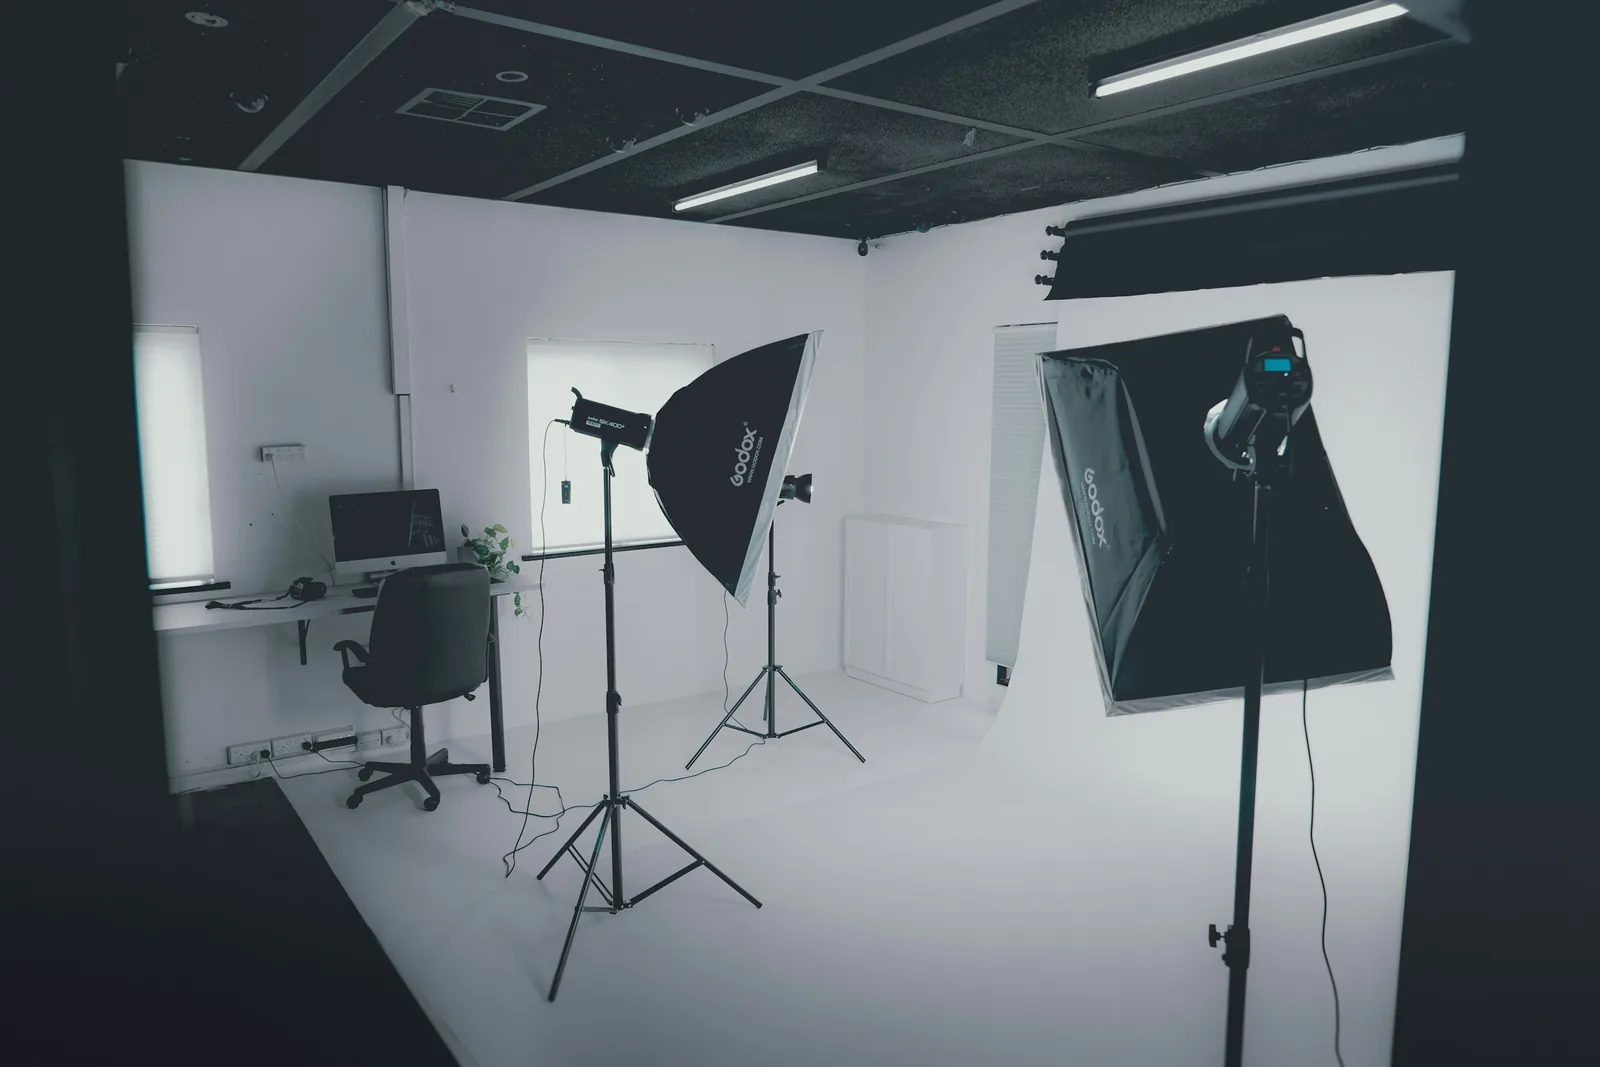
The right lighting can completely change how a product looks in a photo, so it’s no surprise that learning how to choose the best light for product photography is one of the most critical steps in product photography. For example, suppose you’re shooting a shiny object, like a piece of jewelry. In that case, you want to use bright lighting that reveals the product’s details and highlights its sparkle. In this article, we’ll break down everything you need to know to choose the best lighting for product photography. You’ll learn about the best light sources for product photography, how to position your lights, and even ways to modify your lighting for different effects. So, how to shoot product photography?
One way to make your lighting setup easier is to use a light box for product photography. A light box is a simple tool that helps create an evenly lit environment for your product.
Table of Contents
- Why Lighting Makes or Breaks Product Photography
- 10 Best Light Types And Sources For Product Photography
- Natural Light vs. Artificial Light: Which Should You Use?
- Setting Up Your Product Photography Lighting
- Get Product Photos that Increase Your Sales Today
Why Lighting Makes or Breaks Product Photography
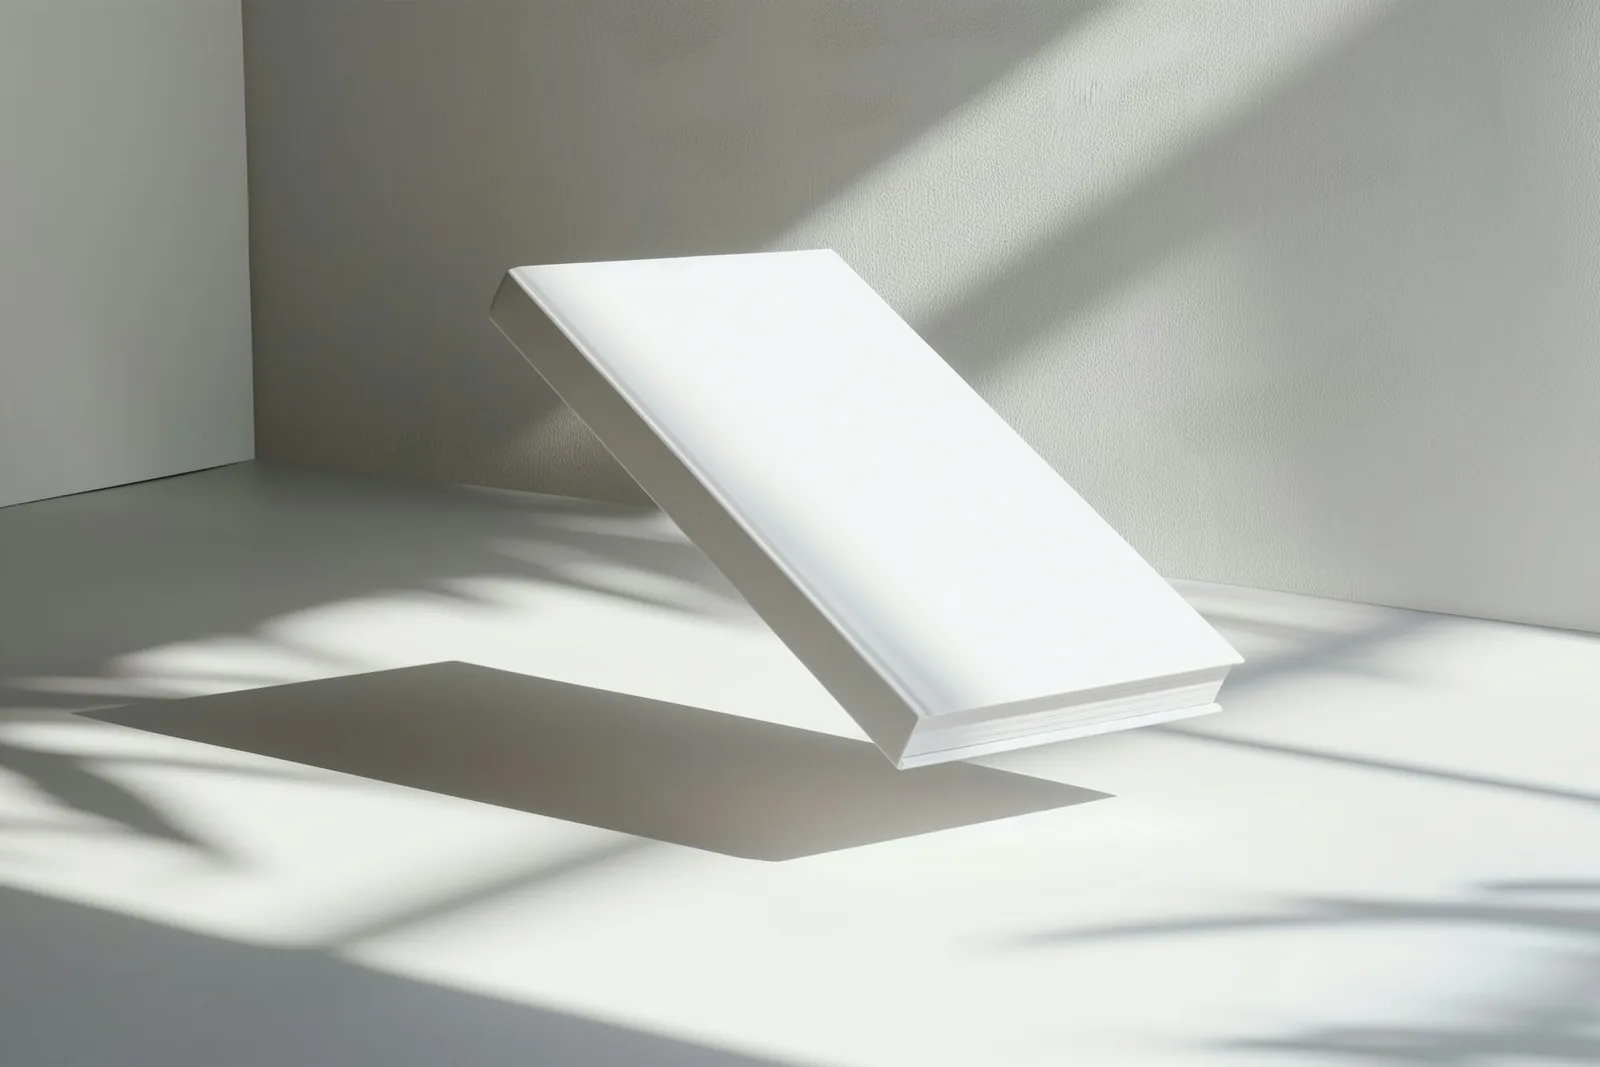
Whether you’re shooting for a billboard or your brand’s Instagram feed, how you light your product shapes everything the viewer sees: texture, color, mood, and quality. That’s why professional still life photographers treat lighting as the foundation of the entire shoot.
It’s About More Than Brightness
Lighting sets the stage. It controls how your product is seen, not just how much of it is visible. Good lighting defines shape, highlights detail, and creates contrast that guides the viewer’s eye. It creates atmosphere, sets tone, and makes a product feel:
- Luxurious
- Rugged
- Fresh
- Innovative
Whatever emotion you want your customer to associate with it. Think of a sleek perfume bottle lit with a dramatic side light versus the same bottle under overhead kitchen lights. One image appears cinematic and high-end, while the other resembles a snapshot. The only difference? Lighting.
Lighting Builds Trust and Attention
In e-commerce and advertising, image quality builds trust. If your lighting is off, with blown-out highlights, harsh shadows, or uneven exposure, your product may appear low-quality, even if it’s not. Worse, poorly lit photos are often scrolled past. On platforms like Instagram or marketplaces like Amazon, your photo is your storefront. Lighting ensures that the storefront is:
- Inviting
- Professional
- Clear
Lighting Builds Visual Consistency
Professional product photographers understand that consistent lighting is essential, particularly for catalogues, brand campaigns, or websites. A proper lighting setup enables repeatable, controlled results, even across multiple shoots or product lines. This kind of consistency builds brand identity and helps customers quickly recognize your visual style.
Lighting Enables Creative Control
A rising number of creators and brands are using product photography for storytelling on social media. Here, lighting becomes a creative tool. Want to give your handmade candle a cozy, warm glow? Or highlight the cool, cutting-edge design of your new gadget? With the proper lighting, soft shadows, color temperature control, and directional highlights, you can control the entire mood of the shot. That’s where continuous light sources, such as LED panels and RGB lights, shine. They’re versatile, work well in both indoor and outdoor setups, and let you see the effect in real-time, making them perfect for product photographers who want full control over how they highlight a subject.
• What Is The Best Size For Ecommerce Product Images
• How To Pose Shoes For Sale
• How To Take Pictures Of Shoes To Sell
• How To Take Pictures Of Clothes To Sell Online
• Cosmetic Product Photography
10 Best Light Types And Sources For Product Photography
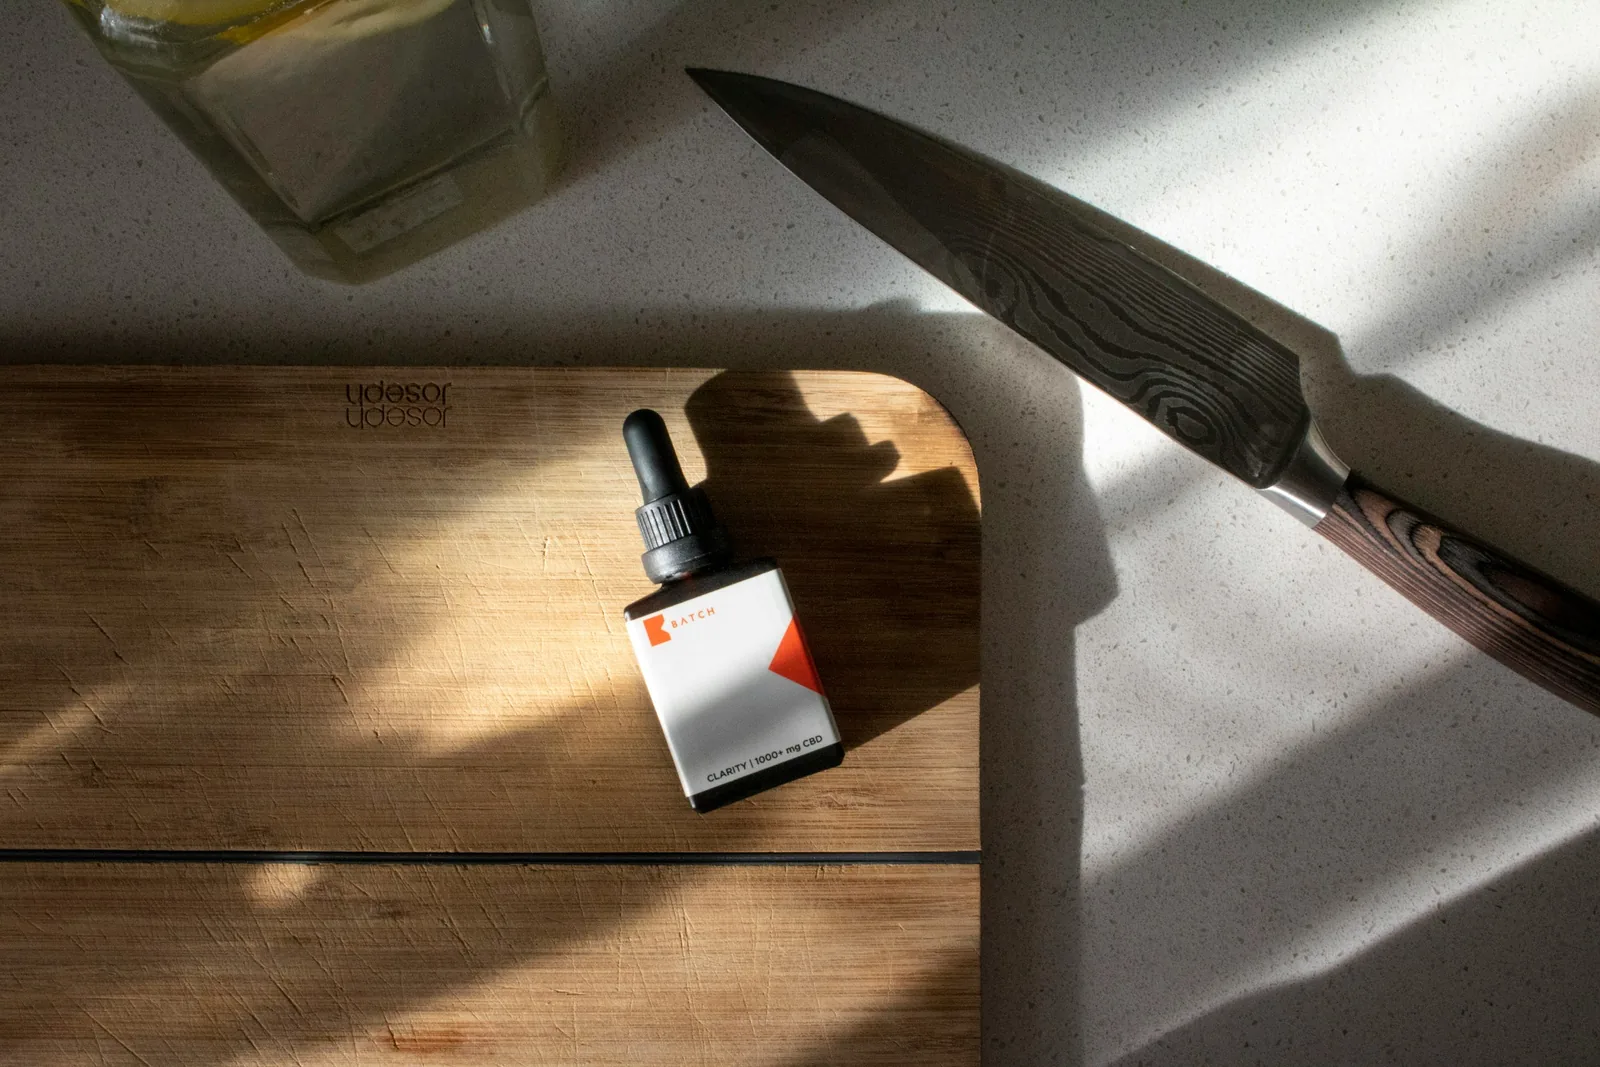
1. Direct Skylight: The Natural Light Everyone Loves
Direct skylight refers to sunlight that reaches your subject without passing through clouds, but also without the direct glare of the sun itself. It typically comes from a wide patch of clear sky and provides a calm, bluish tone. This lighting is soft, evenly distributed, and minimizes harsh shadows. It’s great for achieving clean, shadow-light images, especially with lighter-toned products or those that require a neutral, low-contrast look, such as:
- Ceramics
- Clothing
- Minimalist packaging
Best for
Clean product shots with accurate color tones and soft detail.
2. Direct Sunlight: The Bold Product Lighting
Direct sunlight is the raw, powerful light from the sun hitting your subject without obstruction. It creates intense highlights, well-defined shadows, and a warm color cast, especially during the early morning or late afternoon (the golden hour). While commonly used in lifestyle or outdoor product photography, it can be tricky. Harsh direct sunlight can blow out highlights, deepen shadows, and distort color if not carefully managed. When harnessed correctly, it can deliver a bold and dynamic look.
Best For
Think adventure gear or woodwork, like:
- Outdoor shoots
- Dramatic imagery
- Natural textures
3. Indirect Light: A Soft and Natural Lighting Approach
Indirect light comes from the sun or artificial sources but has been reflected off surfaces, such as walls, ceilings, or clouds, before it reaches the subject. It’s softer than direct light and offers diffused, low-contrast illumination. This type of lighting eliminates most shadows and is easy to control. It’s perfect for showcasing fine details and achieving a natural look without investing heavily in lighting gear. Cloudy daylight or a light bouncing off a white wall is a classic example.
Best For
Soft, balanced photos of:
- Beauty products
- Stationery
- Flat lays
4. Side Light: Depth and Dimension for Product Photography
Side lighting involves positioning your primary light source to the left or right of your subject. It casts shadows across the surface, creating depth, texture, and dimensionality. This approach highlights surface features, making it ideal for textured or detailed products, such as:
- Fabric
- Leather
- Handcrafted goods
Depending on whether the light is harsh or diffused, it can either highlight or obscure fine features.
Best For
Textured products, food photography, or items where form and surface detail matter.
5. Backlight: Create Depth and Drama in Product Imagery
Backlighting places your light source behind the subject, opposite the camera. This can produce:
- Striking silhouettes
- Glowing edges (known as rim light or hair light in portraiture)
- Enhanced depth
When used creatively in product photography, backlighting can add drama, create contrast, or make translucent items, such as bottles or glassware, appear luminous and translucent. It’s especially effective when paired with diffusion or a reflective fill.
Best For
- Glassware
- Transparent products
- Moody, editorial-style images
6. Artificial Lighting: Consistency and Control for Product Shoots
Artificial lights give you complete control over consistency, direction, and intensity, which is something that natural light cannot promise. You can use LED panels, studio strobes, or CFL softboxes to mimic daylight or create any desired mood. LEDs are popular for their portability and adjustable settings, while softboxes and umbrella lights offer a wide, soft output.
Best For
- Consistent product catalog shots
- Indoor studio setups
- eCommerce photography
7. Flash and Strobes: Freeze Time for Clear Product Shots
Flashes (on-camera or off-camera) and strobes (powerful studio flash units) emit short, bright bursts of light. They're favoured in professional setups for their sharp, freeze-frame lighting and ability to eliminate motion blur or ambient light inconsistencies. Strobes are typically used in conjunction with modifiers, such as softboxes or umbrellas, to shape and soften the burst of light. This setup is ideal for high-volume, high-clarity commercial product photography.
Best For
- Studio photography
- Fast-paced shoots
- High-detail items like jewellery or electronics
8. Diffusers and Light Modifiers: Control Your Product Lighting
Diffusers scatter light to make it softer and more uniform. Think of thin fabric panels, softboxes, or even a sheer curtain. These tools spread light and reduce harsh shadows or reflections. Reflectors bounce light back onto the subject to fill in shadows, while colored gels can tint lights to achieve a mood or visual consistency. Light modifiers enable you to sculpt, soften, or dramatize your lighting to achieve your creative goals.
Best For
Fine-tuning any light source to achieve studio-like softness or manage reflections.
9. Moonlight: Dramatic and Unique Product Photography
Moonlight and similar unconventional light sources, like firelight, flashlights, or lasers, introduce creative possibilities for experimental product photography. These lights are often low in intensity but offer a unique ambiance. Shooting with moonlight typically requires a long exposure and a stable setup. It's not common in commercial eCommerce, but can be very effective for dramatic product storytelling or atmospheric advertising.
Best For
Creative projects, storytelling shots, or dramatic visual campaigns.
10. Mixed Lighting: Blend Different Types of Light for Unique Results
Mixed lighting involves blending multiple types of light to create a layered, multidimensional image. For example, you might combine LED light with ambient window light, or use a flash alongside a reflector and a softbox. It allows for complete creative control, adding drama, dimension, or balance to a product scene. Colour temperatures must be managed carefully to avoid unnatural casts or inconsistencies.
Best For
- Creative control
- Multi-layered scenes
- Professional studio work
Choosing the Right Light for Your Product and Brand Aesthetic
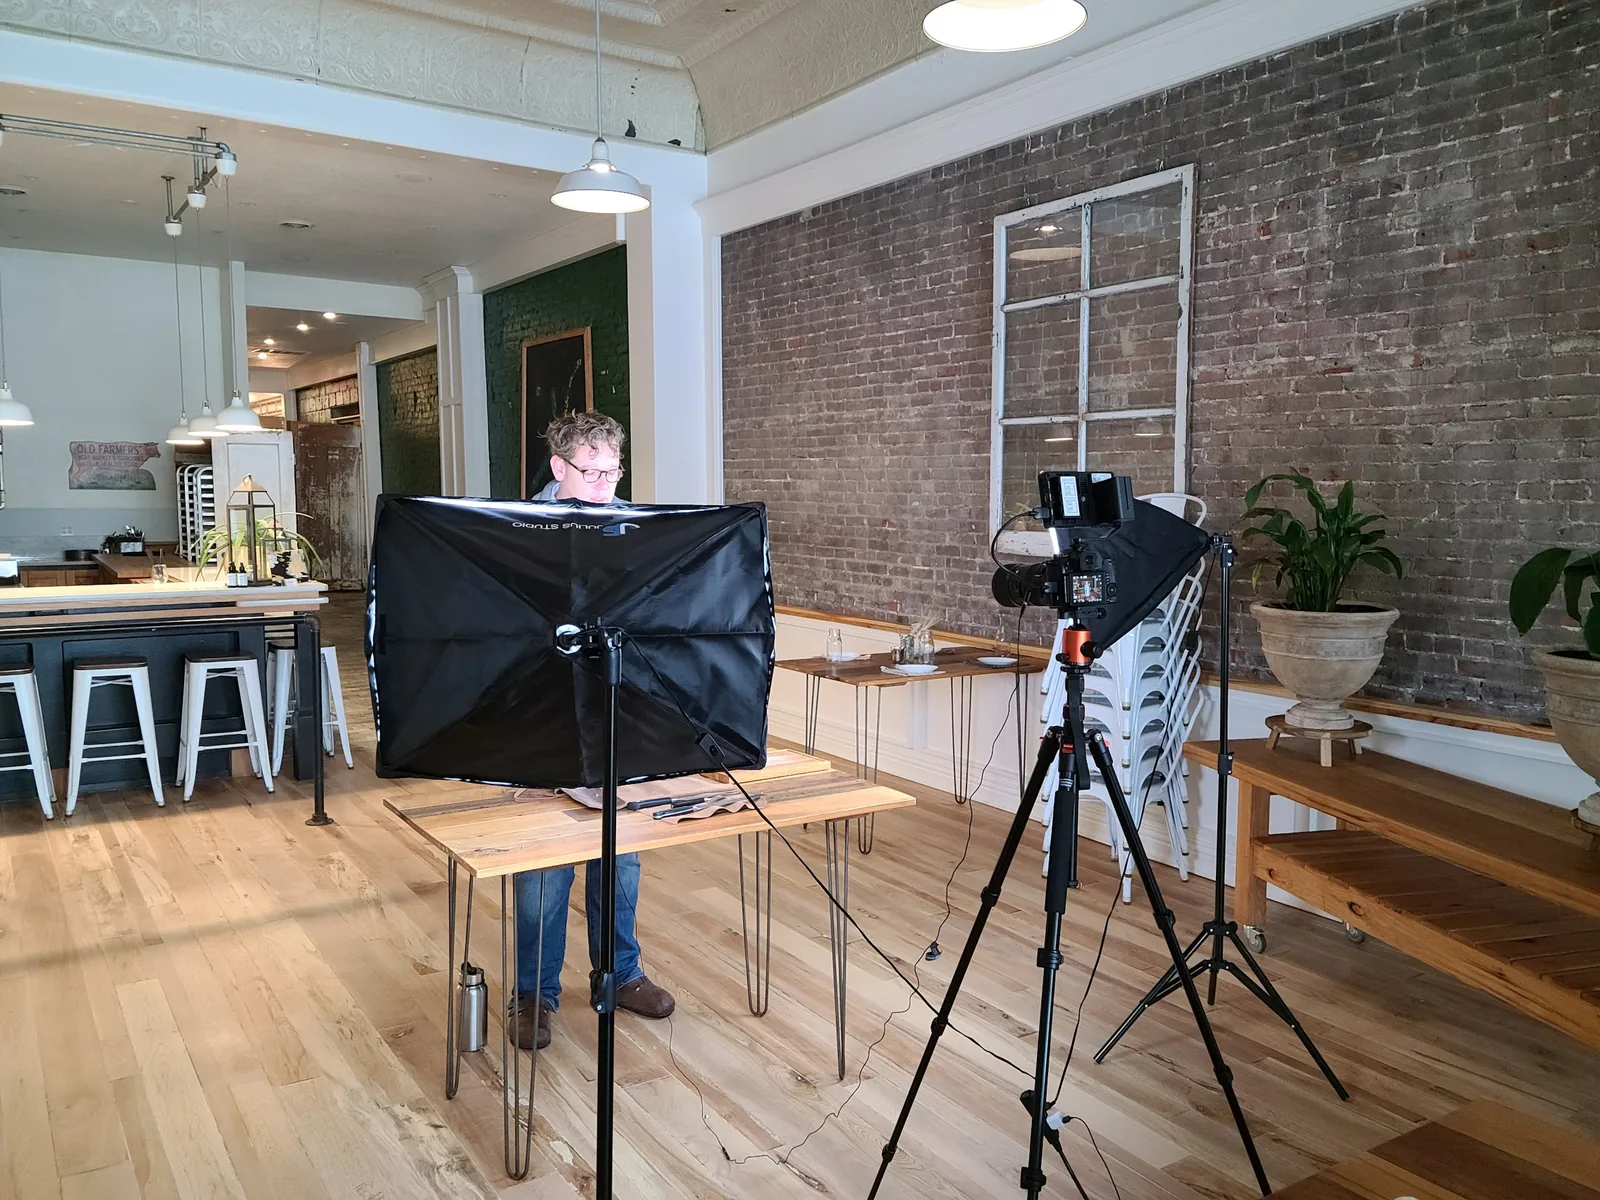
Each lighting type offers a unique aesthetic and level of control. While natural light is excellent for beginners or budget setups, artificial lighting and modifiers give you the precision needed for high-end product photography. The best light depends on your product, brand style, and level of experience, but no matter what you choose, light is always your most powerful tool.
Why Traditional Product Photography Is No Longer Sustainable for eCommerce Brands
Caspa helps eCommerce brands create stunning product photography with AI, eliminating the need for multiple tools, photographers, and models that traditionally eat up to 20% of revenue. From creating ultrarealistic product shots with human models to editing existing photos, Caspa's all-in-one AI product photography platform handles everything, from background removal to upscaling, allowing brands to produce professional marketing visuals in seconds. Whether you need custom stock photos or complete studio editing capabilities, Caspa streamlines the entire product visualization workflow into a single, cost-effective solution. Get product photos that increase your sales today!
• Food Photography Examples
• Product Photography At Home
• Natural Light Product Photography
• Creative Product Photography Ideas At Home
• Kitchen Product Photography
• Sunglasses Photography
• Watch Product Photography
Natural Light vs. Artificial Light: Which Should You Use?
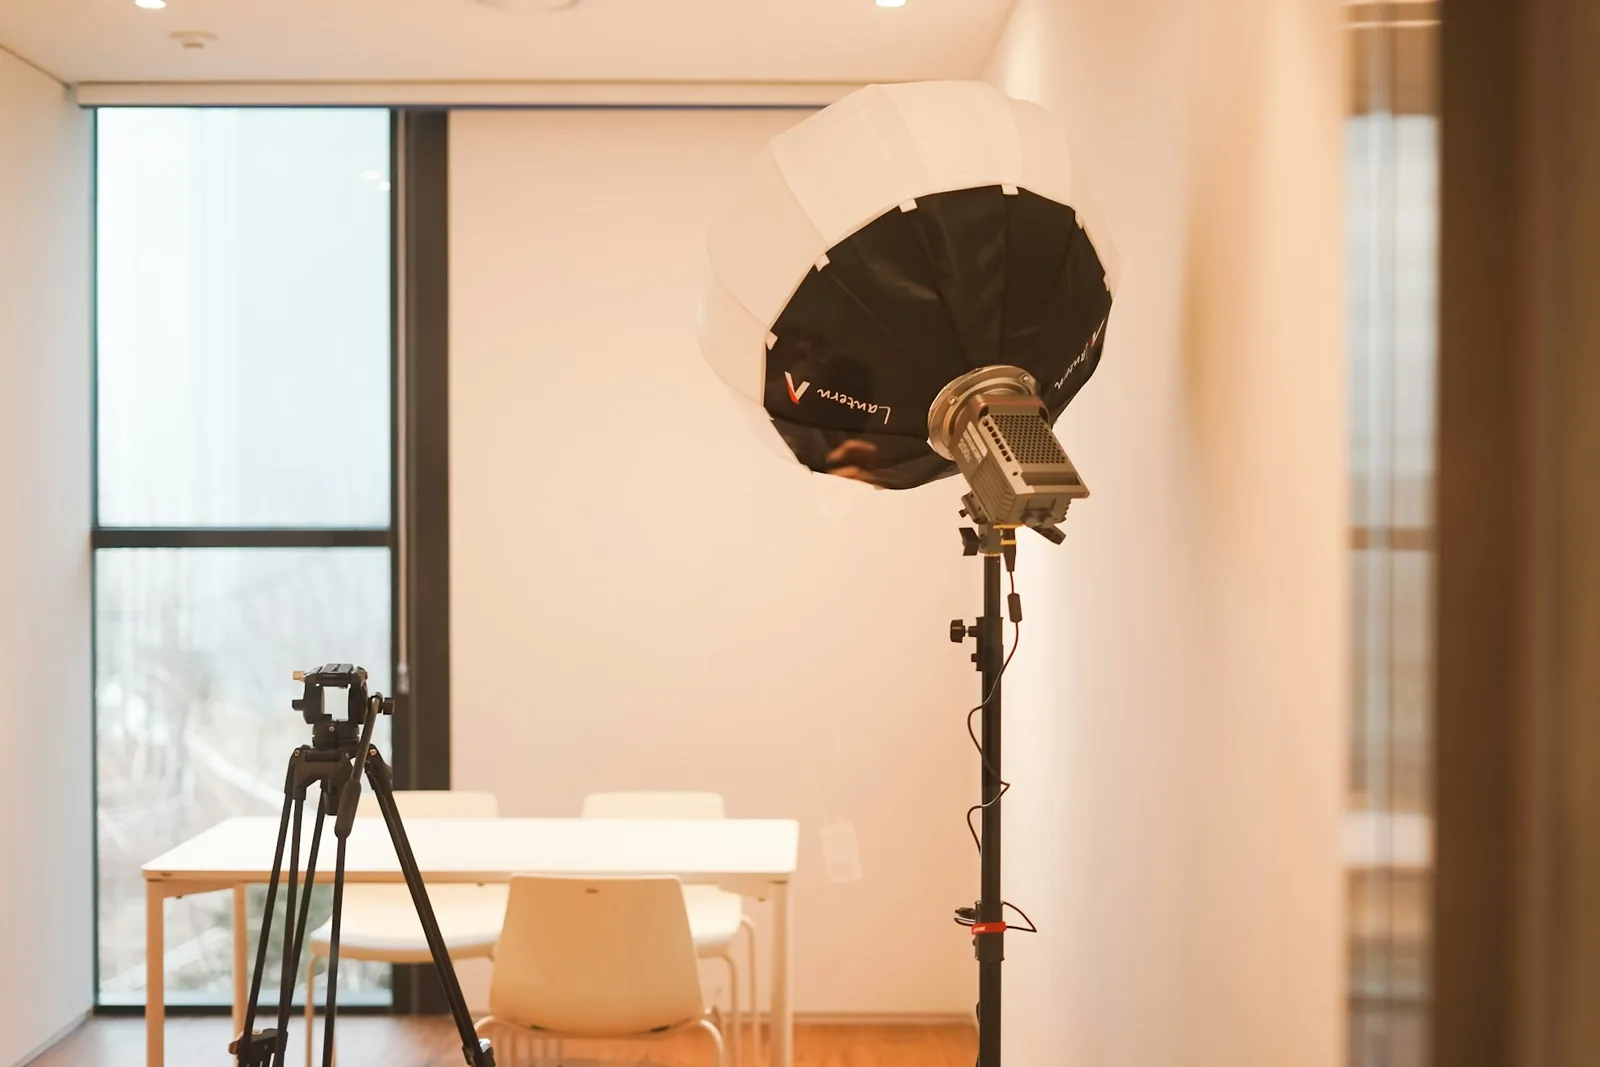
The most apparent benefit of natural light is that it’s free and available to everyone. It’s also intuitive: you can see how it looks as it interacts with your product, making setup and adjustments easy, even for beginners. Natural light is handy when shooting lifestyle or handmade products, especially in home environments.
How to Work Around the Challenges of Natural Light in Product Photography
Natural light is inconsistent. Its quality and color change depending on:
- The time of day
- The season
- The weather
Morning light might be soft and cool, while afternoon sun is warmer and harsher. You’ll need to plan your shoots around these fluctuations and be prepared to work quickly before the light shifts. To soften natural light and make it more flattering:
- Use a diffuser (even a white sheet or thin curtain can work).
- Avoid direct midday sunlight, which often produces harsh shadows.
- Choose overcast days or shaded spots for more even, indirect lighting.
Artificial Light: Consistent and Reliable
Artificial lighting gives you control, whether from:
- Flashes
- Strobes
- Continuous lights
You set the time, location, and direction of light. That’s a significant advantage for consistency, especially if you’re photographing multiple products in one session or across several days.
- Flash photography is excellent for freezing motion and eliminating distractions from ambient light.
- Strobes provide intense bursts of light with no heat, ideal for long hours of studio work.
- Continuous lights (like LEDs) allow you to see exactly what you’re doing in real-time, making them beginner-friendly and ideal for video content as well.
Mastering the Learning Curve of Artificial Lighting
Downsides? Artificial lights can be an investment. Not all brands and accessories are compatible, and setting them up requires some learning. You’ll also need to be mindful of flash sync speeds (generally limited to 1/200s or slower) and how the flash intensity balances with your camera’s ISO and aperture. Tips for working with artificial light:
- Always use diffusers or modifiers to avoid harsh shadows.
- Combine reflectors with flash or LED to shape the light direction.
- Balance the light temperature with your camera’s white balance setting.
Which Should You Choose?
There’s no definitive winner because it depends on:
- Your product: Are you shooting jewellery or clothing? Small, detailed items often benefit from controlled studio light; larger lifestyle products might look best in soft natural light.
- Your environment: Do you have a studio? Or are you working near a window in your apartment?
- Your workflow: Are you batch-shooting hundreds of SKUs for an online store? Or just capturing a few handmade pieces?
If you’re just starting out or on a tight budget, natural light is a perfectly viable option. Learn how to work with its limitations. If you want complete creative control and consistent results, investing in artificial light will elevate your photography. In many cases, the best approach is a hybrid one, combining natural and artificial light, utilizing reflectors, diffusers, and creative modifiers to shape the light precisely as desired.
Setting Up Your Product Photography Lighting
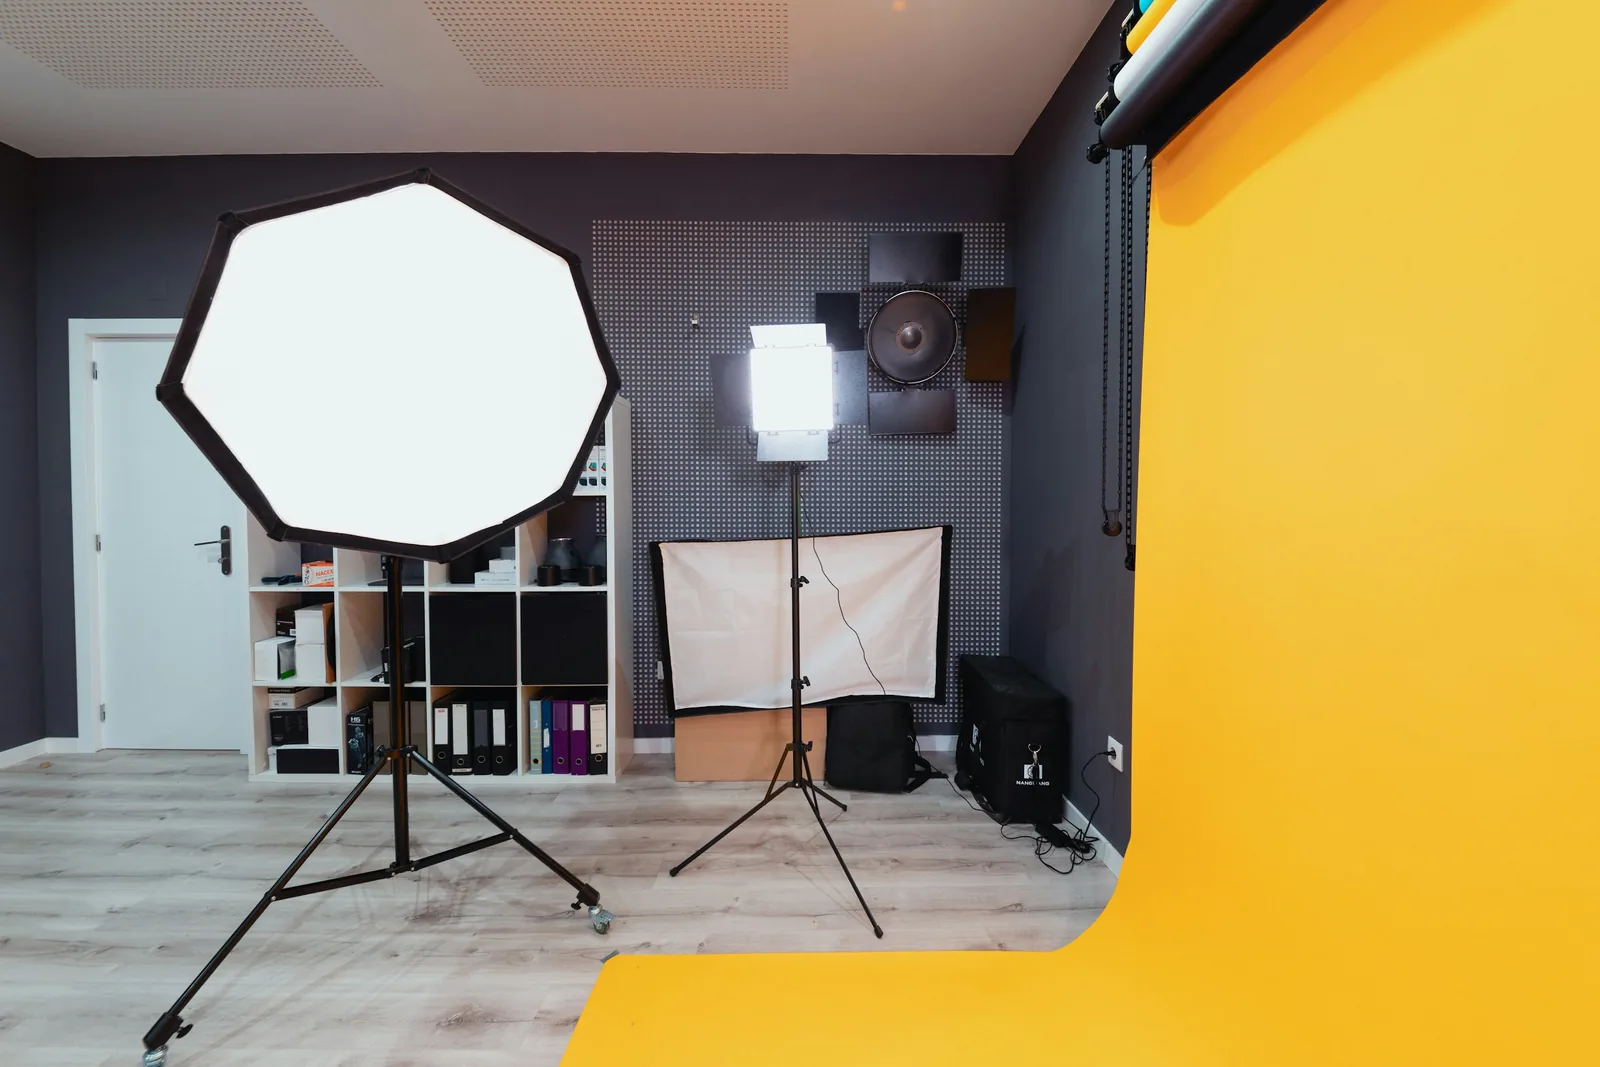
The difference between a photo that sells and one that sits often comes down to lighting. You don’t need a massive studio or expensive gear to get professional-looking shots. Still, you do need to understand how to:
- Position your lights
- Use modifiers
- Avoid common pitfalls
Here’s a clear breakdown to help you set up your lighting for different types of products.
Lighting Setup by Product Type
Jewelry
Jewelry is reflective, small, and detail-rich, so lighting needs to be soft, controlled, and precise.
- Positioning: Use a light tent or softbox to create even light around the piece. Place one light above and another at a 45° angle to reduce harsh reflections.
- Tip: A third fill light or reflector placed below or in front can effectively highlight gemstones. Always watch for unwanted reflections on metal surfaces.
- Best Light: LED panels or diffused strobes for complete control.
Apparel
Clothing requires a setup that highlights texture, drape, and color accuracy.
- Positioning: Use two soft lights at 45° angles from the front to ensure even coverage. A top light can add depth, and a backlight can help separate the garment from the background.
- Tips: Use a mannequin or model and ensure there’s space between the subject and the backdrop to avoid shadows.
- Best Light: Use continuous lights or large softboxes to minimize harsh shadows and facilitate real-time adjustments.
Tech Products
Tech items often have shiny, angular surfaces that catch glare easily.
- Positioning: Use two diffused side lights and a top light angled slightly forward. Shoot with a polarising filter to reduce reflections.
- Tips: Use black cards or flags to add contrast and shape to product edges. Control your background lighting carefully to avoid unwanted reflections.
- Best Light: Diffused strobes or soft LED panels for clean, high-contrast shots.
Cosmetics and Skincare
You want sleek, high-gloss lighting that still looks soft and luxurious.
- Positioning: Top-down softbox with two angled fill lights works well. Add a reflector in front or underneath for smooth gradients on bottles and jars.
- Tips: Watch for label glare. Consider spraying the bottle with water or glycerin for a fresh, dewy effect.
- Best Light: Large softbox or beauty dish with modifiers.
Using Light Modifiers for Professional Results
Modifiers control how light hits your subject. Here's how to use them:
- Diffusers: Soften harsh light, reduce contrast, and eliminate sharp shadows. Place them between the light source and your product. You can use softboxes, diffusion panels, or even a sheer white cloth.
- Reflectors: Bounce light into shadow areas. Great for fill lighting without setting up another light source. Use white for soft fill, silver for more punch, and gold for a warm tone.
- Flags & Gobos: Block light from hitting certain parts of your frame. Helpful in shaping light on reflective objects or creating dramatic shadows.
- Softboxes and Umbrellas: Spread and soften light. Softboxes are more directional and precise; umbrellas spread light broadly and are suitable for even fills.
Common Lighting Mistakes to Avoid
Mixing Color Temperatures
Using natural light alongside a warm tungsten bulb or cool LED can confuse your camera’s white balance and create odd color casts. Stick to one light temperature per setup, or use gels to match sources.
Ignoring Shadows
Shadows aren’t bad, but they should be intentional. Watch where they fall and how hard they are. Use reflectors or fill lights to control them, especially when positioned under or behind the product.
Lighting Too Harsh or Too Flat
A bare flash will produce harsh highlights and deep shadows. Overdiffusing your light can make the image look flat. Find a balance using directional light softened by modifiers.
Reflections and Glare
Especially common with shiny or glass surfaces. Move your lights off-axis or use polarising filters. Enclose your subject in a light tent, if necessary, to minimize unwanted reflections.
Forgetting the Background
Uneven background lighting can look unprofessional. Light your backdrop separately if you want it clean and consistent, especially for white product shots.
• Drink Product Photography
• Simple Product Photography
• Simple Product Photography
• Jewelry Product Photography
• Skincare Product Photography
• Best Product Images
• Best Camera For Product Photography
Get Product Photos that Increase Your Sales Today
Caspa AI is a powerful tool that helps eCommerce brands create product images that boost sales. The software utilizes AI to eliminate the need for multiple tools, photographers, and models, which traditionally account for up to 20% of revenue. Caspa creates ultra-realistic product shots with human models in seconds. The software also edits existing photos, handling everything from background removal to upscaling. For brands that need custom stock photos or complete studio editing capabilities, Caspa streamlines the entire product visualization workflow into a single, cost-effective solution.